Stories to tell

I try to keep all the social sides of my business as active and up to date as possible but I haven’t posted much on the blog over the past wee while. I’ve been so busy which is great and I’m really having to micro-manage my time which is probably one of my greatest weaknesses. I’m loving the challenge the coordination brings and progressing a business coupled with working my normal day job, keeping on top of everyday tasks and also what's most important in life... spending time with the people that I love. I appreciate time even more since I started this business; how valuable it is. How short our time here on Earth is so we need to make the most of what we’ve got.

The more I do this, the more I’m let in to areas of people’s lives that are normally very private. Sharing up close the most important events in someone’s life: a wedding day, birth of a child, successes, performances, portfolios… things that people don’t normally get to see from a photographer’s perspective. It’s a position I’d never expect to be in, but one that I truly value. I'm so thankful to those who allow me that privilege. To many, photography is just an “art”; you point your camera at something, take a picture and there it is. But it’s so much more than that.

Within the image there’s a story to tell from both in front of the lens and behind it. In front of the lens I often find love, dedication, hard work, intimacy, fun, laughter, sincerity, trust… I could go on. I’m capturing a story and my main aim through my photography business is to tell stories. Encapsulate all these emotions into an image and share it for the subject(s) to cherish and for others to enjoy.

On the other side of the lens is me. 10 years of photography teaches you a lot of the theoretical aspects of how to take a picture, a lot of practice and hard work goes into that. But the most important elements of being able to capture an image that you love is the connection between you and what’s happening in front of the lens coupled with the years of experience. Knowing how my camera will behave and what settings suit the mood of what I’m capturing is crucial and I’m learning even more with every shot it take. God willing, I hope to have involvement in photography for the rest of my life. I’ve definitely found one of my true passions and learning something new is something that will carry on for as long as I do this.

My advice for those who want to get in to photography or have just started their journey would be: take your time. Don’t jump in too fast and expect to be an expert. Spend time developing your skills in your free time, learn how your camera works and practice capturing natural interactions; it’ll all fall into place.  

Phil

How to photography: Glasgow University Cloisters

Many of you have commented how much you enjoyed my recent picture that I took at The Cloisters at Glasgow University so I thought I’d share with you how I captured it. Thankfully it’s nothing too complex so if you know the basics of photography you should be able to create a similar style yourself!

CloistersPGP_v1.jpg

First of all I should say that it’s a location that I’m very familiar with so I could picture in my head how I wanted the photo to look before I went. This often isn’t the case and can sometimes be a stumbling block if you’re not familiar with a place that you’re going to take photos. A big part of photography is visualisation; trying to reproduce the kind of image you’re envisaging in your mind and have that image replicated in your photograph. Often you’ll see something in real life which will spark an idea and that’s great, if you take your time to have a look around a location you’ll always find something of interest. Don’t be frustrated if you don’t; it’s a skill which can be learned and will develop with practice.

Once I arrived I made sure there were no distracting elements in the composition I wanted (things like rubbish bins, anything lying on the ground which might not look good etc) and set up my tripod. The area I was in was very dark with some light spilling in from the quadrangles to the left and right of the picture, but the main light source here was the lights running along the ceiling at the centre of the picture, leading the eye to the bright light in the door just below the centre of the picture.

Composition

For this picture I wanted to have the elements perfectly symmetrical so I lined up my camera, set up the tripod low to the ground and angled the lens towards the ceiling. A tripod is essential in this shot as the light was so dim that anything taken hand held would either be blurry (long exposures result in blurring if the camera isn’t mounted on a tripod) or too dark to be used. I was using a wide angle lens which is great for architecture; you can get a lot of detail in the picture and the size of objects in the foreground and the extremes of the frame are exaggerated, making for an interesting picture. Many digital cameras have grids and guides which help you in lining up a shot if you’re trying to achieve symmetry or incorporating other rules of photography such as the rule of thirds. We’ll look at the rule of thirds in another blog, but lets move on to the settings I chose for this picture and why.

Aperture: F8

I wanted the majority of this picture to be in focus, so I chose F8 for the aperture. This allowed enough of the image to be in focus but the shutter speed to remain fairly low. I try to work mostly between F5.6 and F11 which allows a good balance between depth of field and the amount of light reaching the sensor.

Shutter Speed: Two exposures – 1 and 2 seconds

For this shot I combined two images; One to expose for the areas in light and one for the areas which are in shadow. There are a number of tools you can use to assist you in getting the correct exposure: Highlight warnings, the histogram or even just checking the image on the display (assuming it’s calibrated correctly). I often refer to the histogram for one exposure but because I wanted to expose two different shots, I relied on checking the image on screen to ensure the shadows and highlights were exposed correctly. I’ll talk about blending the two images shortly.

ISO: 200

I always choose the lowest ISO setting I can get away with as this will produce the sharpest results. If you’ve got a tripod then you can have the ISO set to low values and let the shutter speed compensate for the lack of sensitivity. If I didn’t have a tripod and wanted to shoot something similar in the low light, I’d probably have to ramp the ISO up to at least 800 to get a result which looked sharp enough.

Post processing

I ended up with the two images below which don’t look right on their own, but when combined give me the results I’m looking for.

Screen Shot 2014-03-09 at 23.09.34.png
Screen Shot 2014-03-09 at 23.08.27.png

So to produce the final image, I opened the pictures individually in Photoshop. I then right clicked on the photo exposed for the shadows and clicked “Duplicate layer”. Then I selected the name of the other picture I had opened and clicked OK. I then went back to the first picture I opened where you’ll see I now have two layers open; one with the picture exposed for the highlights & mid-tones and overexposed image which brings out the shadows sitting on top of it.

The next step is to mask the picture exposed for the shadows, then paint in the areas I want to increase the brightness of by using a brush. To do this, we need to add a solid black mask to the overexposed image first. Hold down Cmd (or Alt on a PC) and click “Add layer mask”. This will add a black mask (If you didn’t hold down alt the mask would be white).

Then, click on the Brush tool on the left hand side and select a suitable size. Around 300 pixels should be a good balance between accuracy and coverage. Make sure the colour of the brush is set to white and then paint over the areas which are in shadow. You can experiment with the opacity settings; you don’t want to have it at 100%, I changed mine to 60% initially and then changed the settings to a lower/higher setting depending on the mood I was trying to create.

What you’re doing in this process is painting away the black mask, which is bringing up the earlier picture that we put the mask over that was exposed for the areas which were in shadow.

Once I finished, I right clicked on one of the active layers and clicked “Merge Visible Layers”. This then merged the two together and allowed me to increase the image sharpness, mess about with contrast, saturation etc.

The key is experimentation; try different settings and see what results they give you! 

Enjoy!

Phil 

Stuart & Charlotte's wedding - 5th February 2014


Charlotte wedding013.jpg

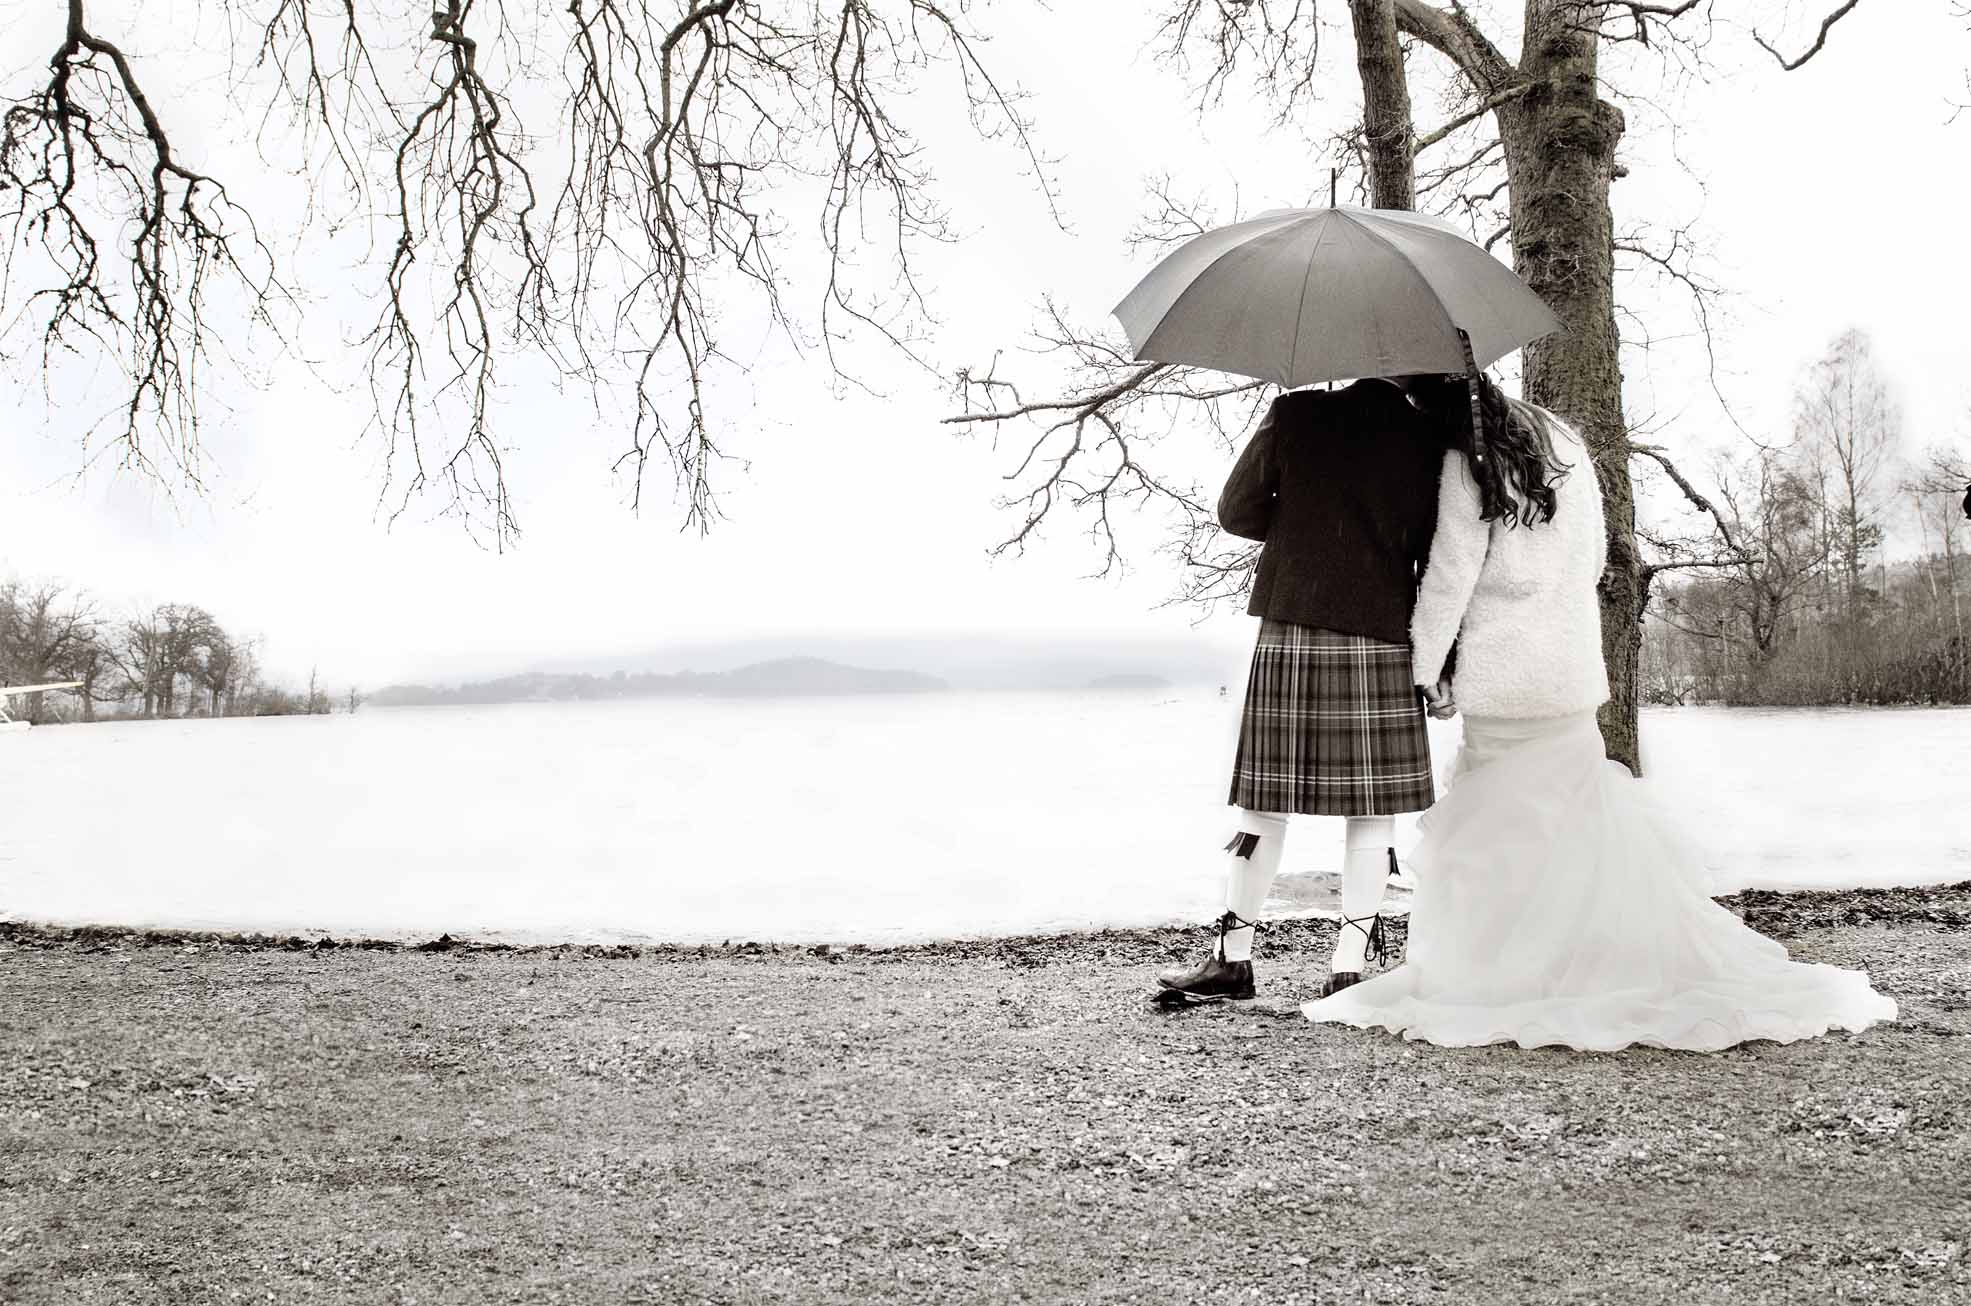
On Wednesday of this week I went up to Cameron House along with Graeme as part of Monument Wedding Photography to photograph the wedding of two great friends of mine, Stuart and Charlotte. I’ve been to Cameron House a few times before but never for a wedding… what a beautiful setting to get married! Situated on the banks of Loch Lomond, the hotel is perfect for photography. Lovely big rooms, stunning outside and in, close by to the beach; we were spoilt for choice when it came to ideas for shots.

Charlotte wedding001.jpg

I arrived at 10am and parked beside a huge puddle; testament to the recent extremely wet weather we’d been having recently. I had checked the weather forecast and it didn’t look good for the day; 98% chance of rain so I had set myself up for lots of indoor photography. I headed into the hotel and was pointed in the direction of the room that Charlotte and her bridesmaid Lauren were getting ready in. This was when I realised just how vast this hotel was! The walking distance is one thing but when it came to actually finding your way between the various places we needed to be throughout the day, in hindsight it would have been a good idea to plan our internal journey through the hotel using Google maps.

Charlotte wedding003.jpg

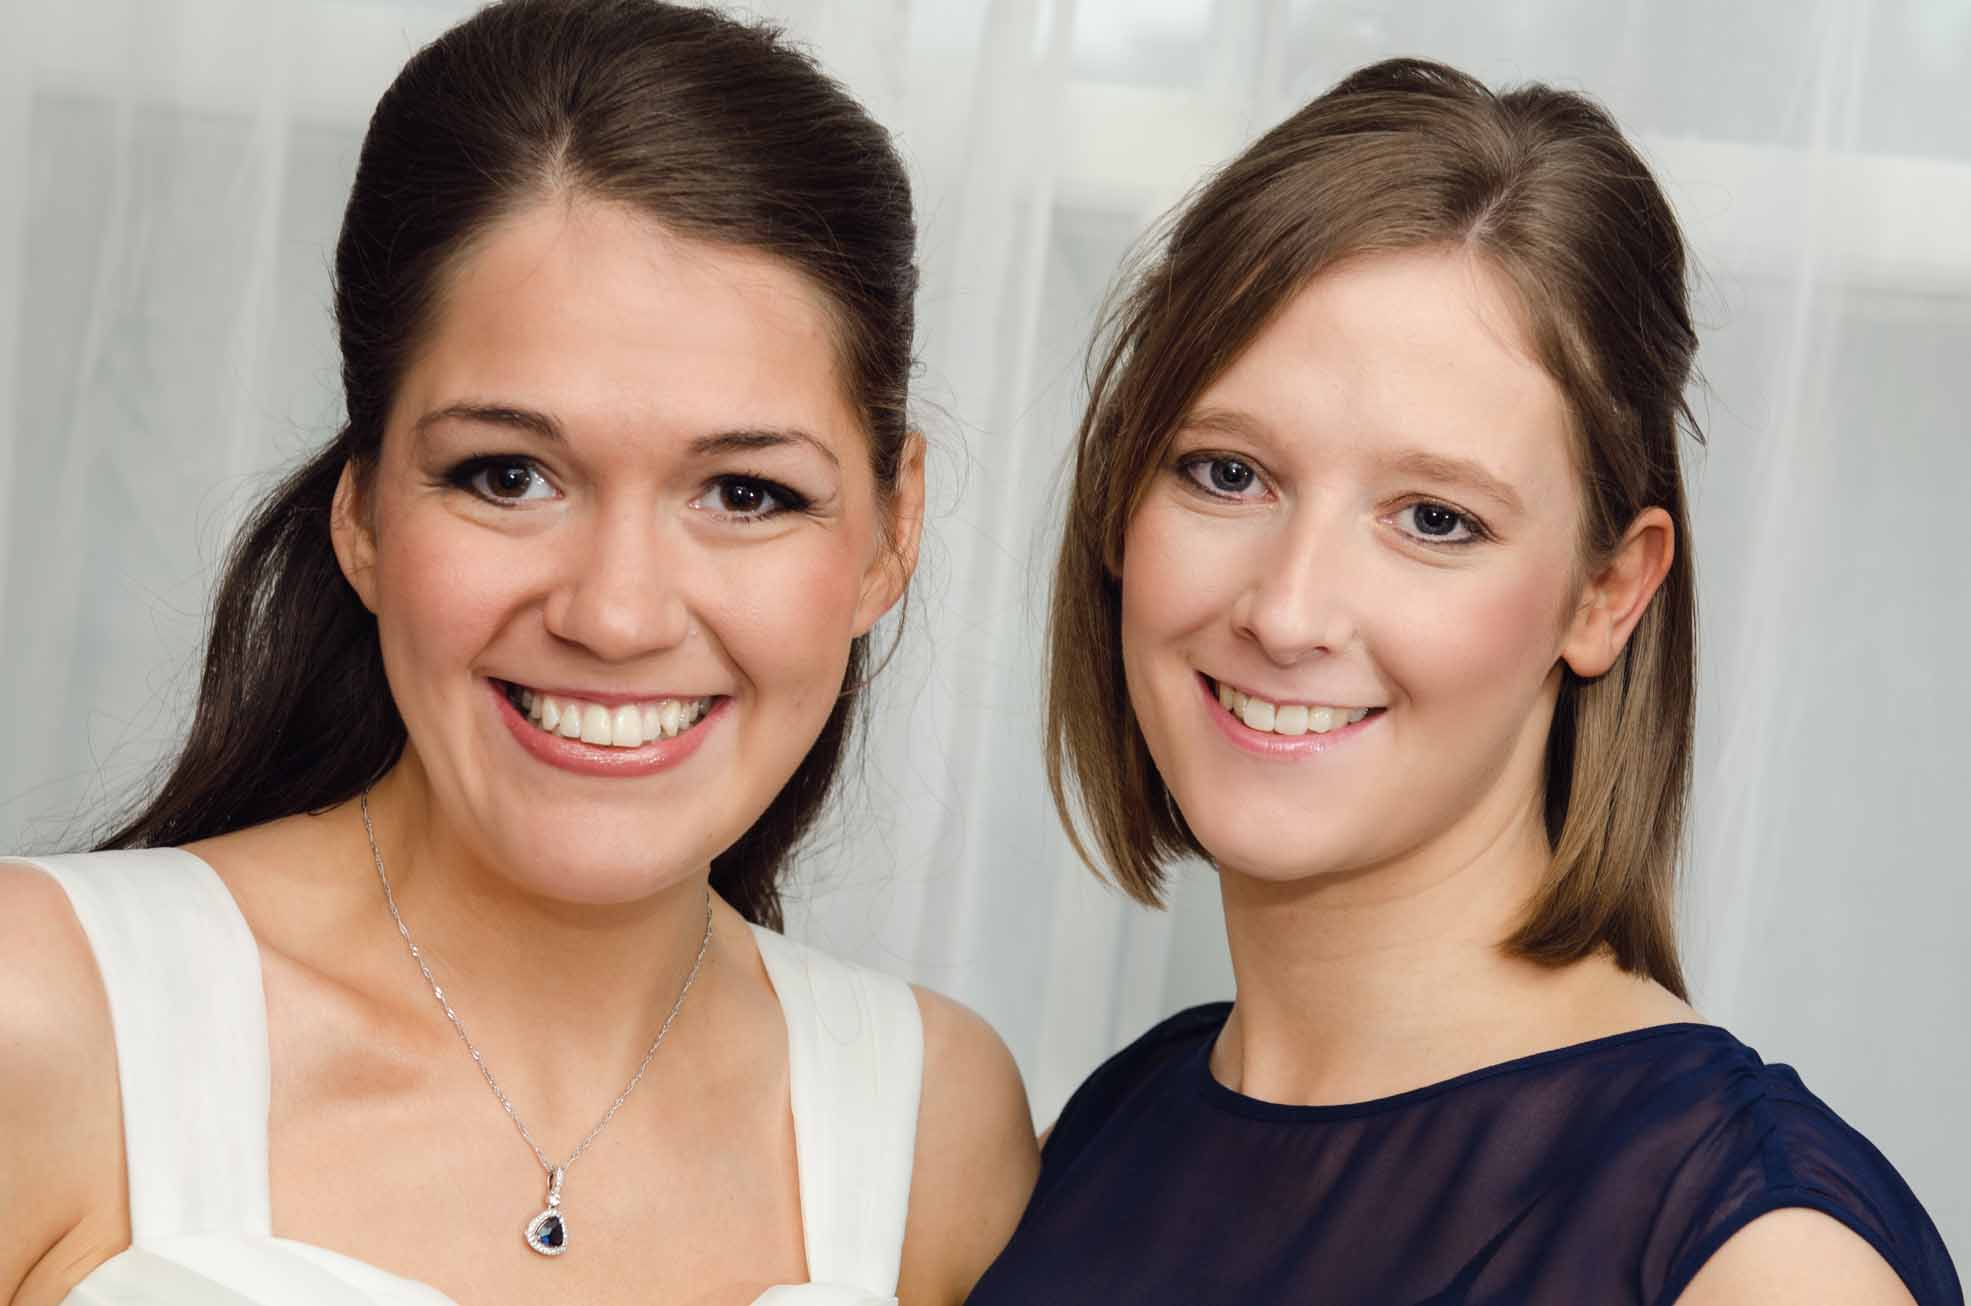
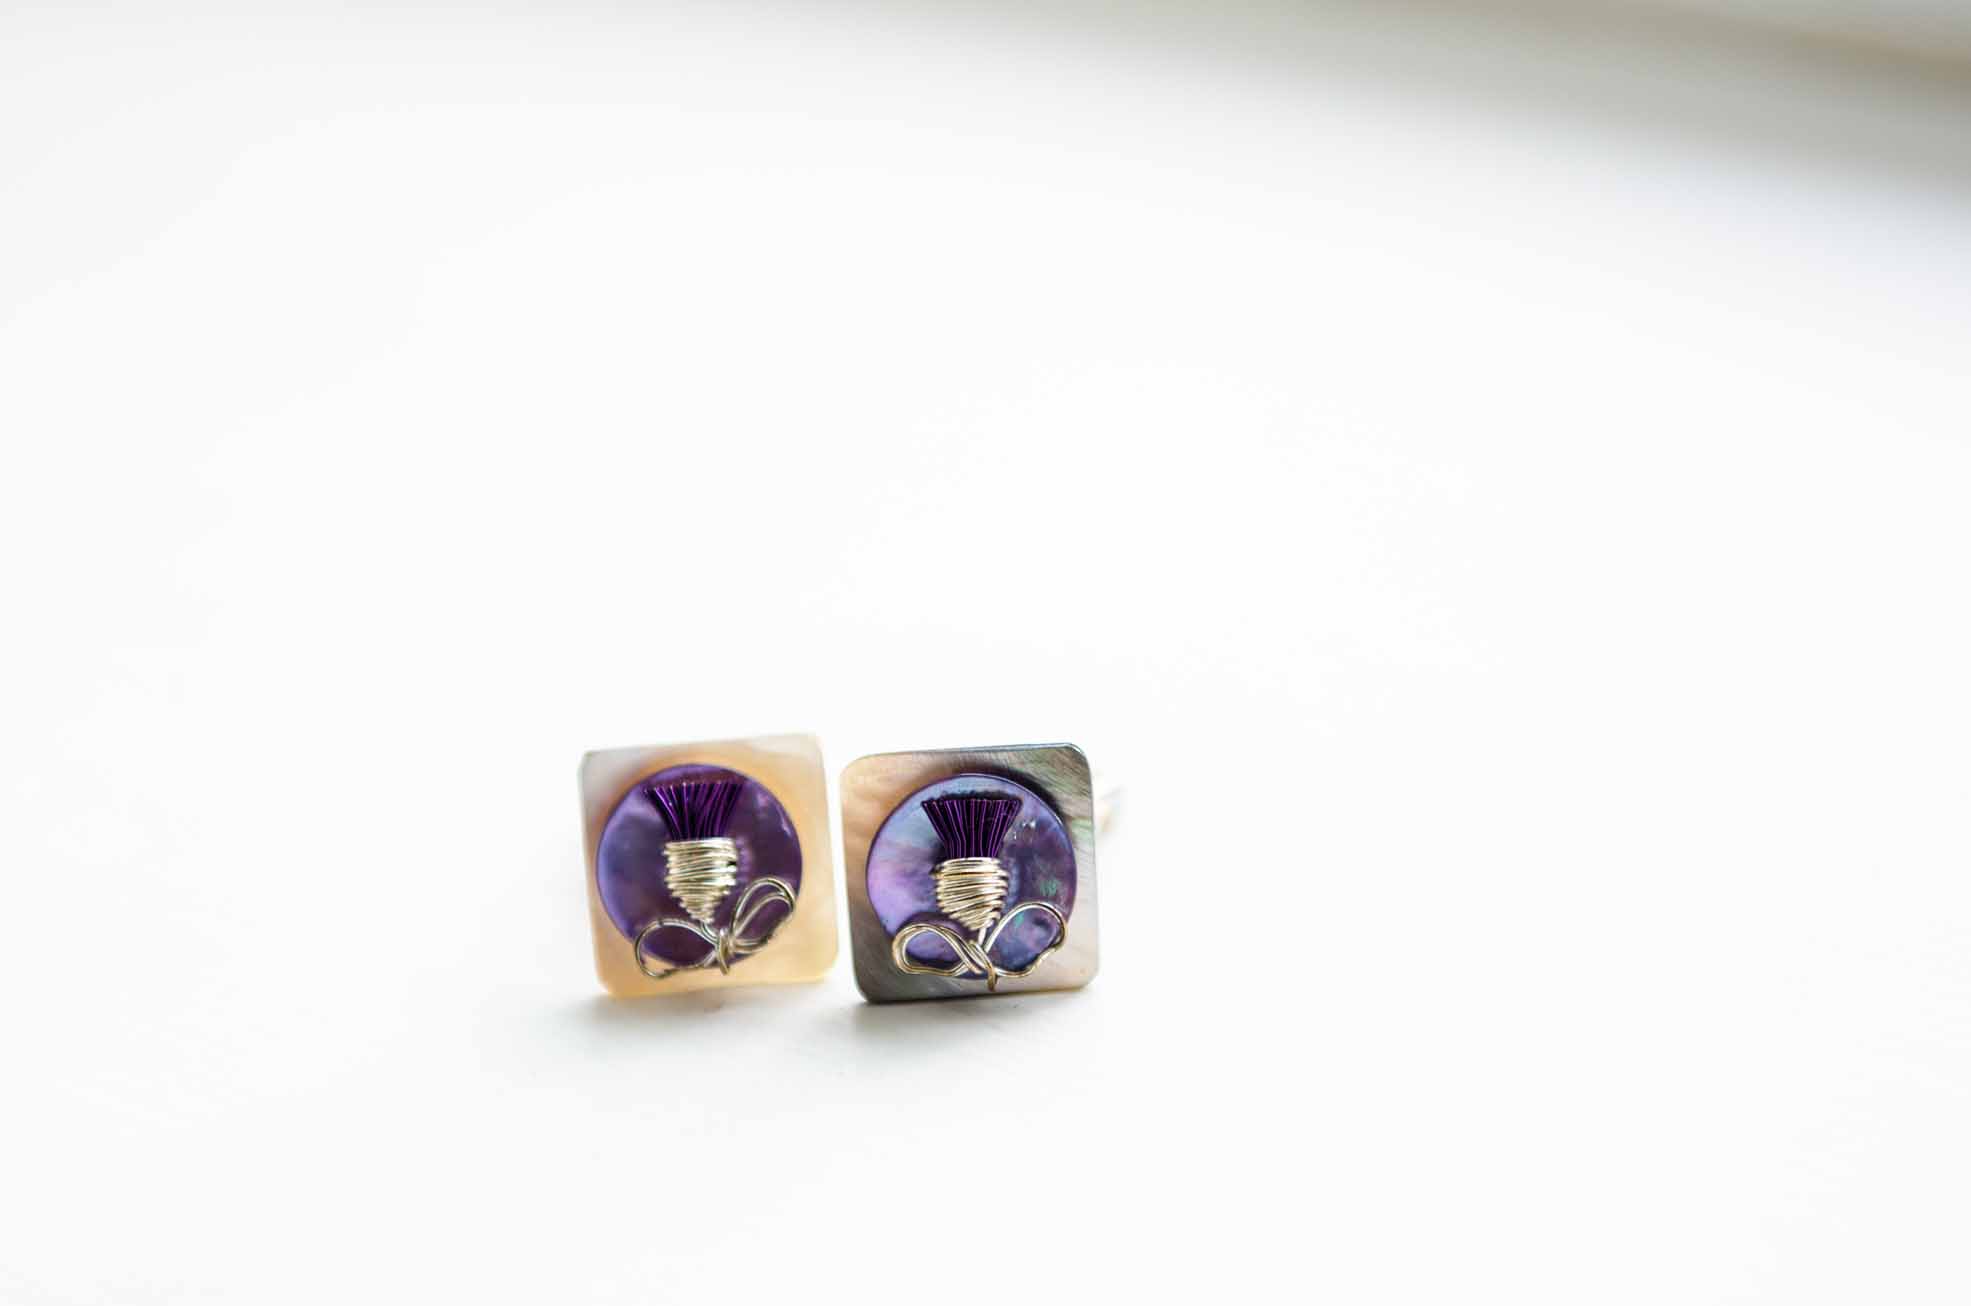
I found my way to the room and Charlotte came to greet me at the door. The hairdresser had just left which gave me plenty of opportunity to get the candid shots that I really like; the conversations between friends, the excitement building, the fine detail shots like the flowers, rings, jewellery and so on. Charlotte’s dress was beautiful; understated and classy and it suited her style perfectly. Lauren had a lovely blue dress and they both looked fantastic. 

Charlotte wedding008.jpg

In between times we headed over to Stuart’s room to meet him and his brother Kevin to get some similar shots. I was amazed at how calm they Stuart and Charlotte were; plenty of smiles showed just how excited they were and that they couldn’t wait for the moment they get married.

Charlotte wedding004.jpg

The ceremony and group photos went very smoothly and as I made my way around the room capturing the moments from different angles, I was loving the results on my review screen. The lighting was perfect and the room was set up in the best way possible. Plenty of room for the photographers to move around whilst being discreet and remaining very much a fly on the wall.

Charlotte wedding011.jpg
Charlotte wedding010.jpg

The weather held up for us for virtually the whole afternoon, allowing us to get a wide variety of outdoor and indoor setups when it came to the formal and group photos.

Charlotte wedding015.jpg

We were delighted to be sitting with the guests for a great dinner which everyone enjoyed, and the ceilidh for the reception was absolutely fantastic. Then again, with Reel Guid playing, it can’t be anything short of a great atmosphere!

Reel Guid PGP.jpg

By the time I got home I was ready for my bed… I was back to work the next day so I didn’t get a lot of sleep but it was so worth it. There’s something truly unique about sharing one of the most special days of a couples life with them in such intimate detail; a feeling that can’t quite be described. Plus, when it’s two good friends of yours it makes it even more special.

Investing in the future

Ahh the Christmas holidays... a time to relax, recharge the batteries and let your sleeping pattern disappear into complete chaos.

I've been off work for a week and I'm already slipping into my naturally inbuilt nocturnal instincts; it's only been bad for a couple of nights so there's still hope yet! I've been making use of my late nights by spending more time developing (top quality pun) my Photoshop skills and just having some general photography study time. I think time investment is so important for anything in life. Obviously practice makes perfect... actually getting out there and taking photos is a large part of moving forward. But study is important to help build upwards. To get a deeper understanding of the technical aspects of photography is absolutely crucial in progressing.

Tonight I've been looking at some wedding photos I've taken throughout this summer and trying to think "How could I improve this shot?". Maybe all it needs is a slightly different composition, expose down half a stop to get more detail, more attention to all layers within the photograph when it's being taken (foreground, middle & background) and learning to pay attention to how the layers of the photo are complimenting each other (or not if there's an ugly pylon in the backdrop of a scenic landscape for example).

Through the years I've been involved in photography it's always amazed me how much skill is actually involved in taking a good photograph. Anyone can point a camera at something and take a snapshot; heck, it's so easy these days with such incredible (and affordable) technology at our fingertips. But what's the difference? Why can't anyone just pick up a professional level DSLR and call themselves a professional? From my reading of photography articles over time, sadly there are many people out there who do just that.

I think the crucial difference between someone who can take a snapshot and someone that can take a good photograph is time and experience. Knowing how the hundreds of variables involved in photography relate and impact on each other is something which only comes with years of experience and study. 

I love getting out there and practicing! It's great fun and extremely rewarding. If you've just started out in photography then don't let others put you down or think that you'll never reach the level of photography where people are in awe of your work. It all comes with time.

Speaking of time, and how to save it, I've been working on some actions. For anyone who doesn't use Photoshop, you can save a series of tasks within Photoshop as and "action" and then run it on any photo or group of photos you choose to save time. Hopefully I'll improve with these in time too but here's a sample image from Emily & Kenny's wedding earlier this year with some of the actions I've created tonight. I'll probably look back on this in years to come and think of many ways it could be changed/improved upon but I'm pleased for a first go at trying to save myself some time. Anyways,  think I should get some sleep now!

Phil

Emily and Kenneth.jpg

New Wesbite

Welcome to the new website! I hope you like what you see. I've got lots of news and information coming up over the next few weeks but I'm still enjoying my Christmas holidays at the moment and getting this website up and running has been a huge step forward!

Loving all the projects I'm involved with and enquiries are keeping me busy; it's all a bit overwhelming. And to think I only started my business 8 months ago is crazy!

Thank you so much to everyone for all your support and kind comments... they really keep me going and make me even more enthusiastic to get out there with my camera!

Update soon,

Phil